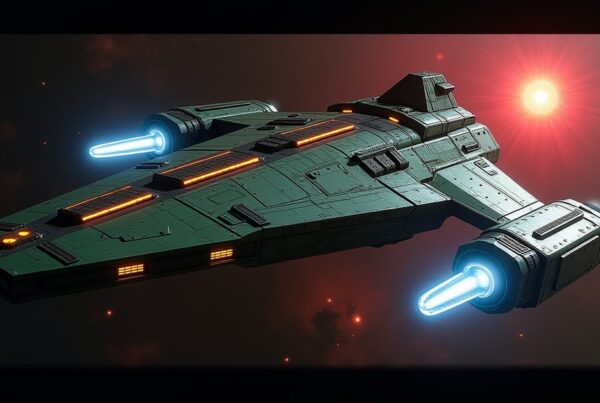
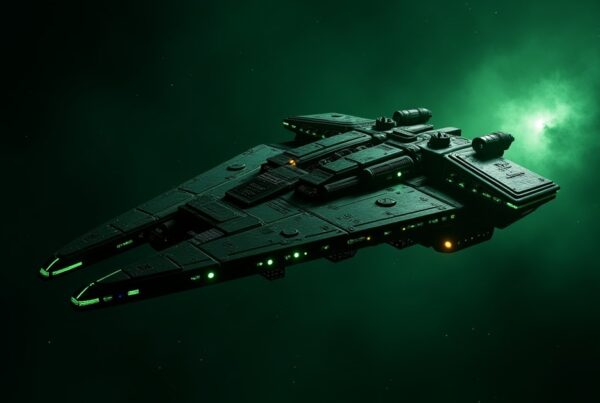
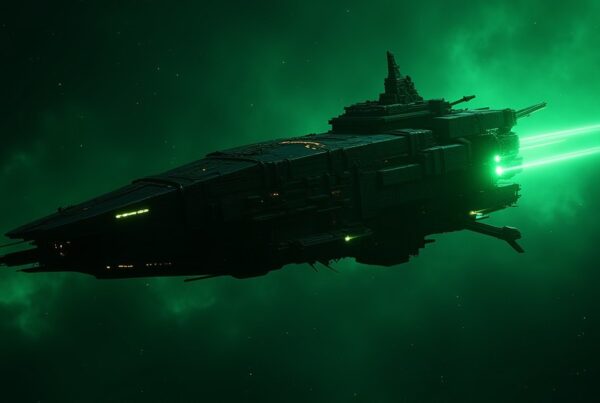
Formation armadas in Star Trek Fleet Command are three linked armada targets that twelve players attack on a shared clock, and they spawn in fixed Delta Quadrant systems. Standard formations run at six levels from 30 to 55, starting in Uxal, Kalak and Miranil at warp 25 and ending in Jettas, Burdow and Leichter at warp 160. Rare formations run at seven levels from 31 to 60, one system each, from Samarklew (warp 28) to Gareill (warp 250). Krenim formations, fought against Temporal Dreadnoughts, span twenty systems from level 43 to 70. Every table below lists the systems, warp and rewards.
Formation armada locations
Standard formation armadas spawn at six levels. The armada level is fixed for each group of systems, while the system level in brackets varies a little around it, so a level 30 formation can sit in a level 26 system. The warp column is what you need to reach every system in that group.
| Armada level | Systems (system level) | Warp | Artifact Tokens | Power per target |
|---|---|---|---|---|
| 30 | Uxal (26), Kalak (30), Miranil (33) | 25 | 2,000 | 9,794,986 |
| 35 | Dinaal (35), Verto Peyl (35), Antaria (33) | 25 | 2,200 | 19,016,818 |
| 40 | Korzans (40), FSEP-086 (40), Quarra (43), Kraylor (40) | 56 | 2,400 | 123,855,093 |
| 45 | New Talax (45), Dawise (43), Valla Terna (45) | 75 | 2,600 | 415,438,512 |
| 50 | Dijor’joh (50), Aran (50), FSEP-2204 (50), Suvfa (53) | 110 | 2,800 | 870,590,395 |
| 55 | Jettas (55), Burdow (55), Leichter (53) | 160 | 3,000 | 1,452,691,222 |
The warp requirement climbs faster than the level does. The level 30 and 35 groups share warp 25, then the level 40 group needs warp 56 and the level 50 group warp 110. Warp range, not ship power, is usually what decides which group you can reach.
Rare formation armada locations
Rare formation armadas put you against the Borg Unicomplex rather than Species 8472, and they spawn in one system per level. On top of Artifact Tokens they pay Complex Nanotech, which buys chests holding officer shards, rare skill points, Isolytic Artifacts and more Artifact Tokens.
| Armada level | System (system level) | Warp | Artifact Tokens | Complex Nanotech | Power per target |
|---|---|---|---|---|---|
| 31 | Samarklew (35) | 28 | 2,700 | 37 | 21,328,347 |
| 38 | Larrios (38) | 40 | 3,000 | 41 | 77,569,715 |
| 41 | Ronkel (41) | 75 | 3,210 | 44 | 181,360,235 |
| 46 | Michfort (46) | 100 | 3,435 | 47 | 637,722,140 |
| 51 | Johlan (51) | 160 | 3,675 | 50 | 1,172,578,373 |
| 56 | Andracona (56) | 200 | 3,932 | 54 | 2,412,073,338 |
| 60 | Gareill (60) | 250 | 4,207 | 58 | 4,243,690,706 |
Krenim formation armada locations
The Krenim version is a different encounter wearing the same shape. Each Krenim formation is a trio of Temporal Dreadnoughts in the same systems at the same level: one Charged, one Static and one Neutral. The table lists the twenty systems by level. Wreckage and Encrypted Intelligence are shown as Charged or Static / Neutral, because the Neutral Dreadnought pays half of what the other two pay.
| Level | Systems | Warp | Krenim Temporal Wreckage | Encrypted Intelligence |
|---|---|---|---|---|
| 43 | Finnes Expanse, Vorex Cluster, Zorathis, Veltharion, Ithmiris | 100 | 1,000 / 500 | 150,000 / 75,000 |
| 47 | Benn’s Field, Armanis Nebula, Solquinnar, Xandovara Rift | 125 | 1,250 / 625 | 275,000 / 137,500 |
| 50 | Partridgeous III (warp 190), Ryabovali Primus | 150 | 1,900 / 950 | 425,000 / 212,500 |
| 53 | Ventalis II, Naidu Reach | 280 | 2,700 / 1,350 | 800,000 / 400,000 |
| 57 | Estru Partis, Tzhaelor | 450 | 3,800 / 1,900 | 1,900,000 / 950,000 |
| 60 | Itharion Reach, Meera | 450 | 5,300 / 2,650 | 2,600,000 / 1,300,000 |
| 63 | Eryndor Veil | 1000 | 8,000 / 4,000 | 8,000,000 / 4,000,000 |
| 67 | Talstris | 1100 | 10,000 / 5,000 | 14,000,000 / 7,000,000 |
| 70 | Ilkis | 1200 | 15,000 / 7,500 | 24,000,000 / 12,000,000 |
Two of the three Dreadnoughts need the USS Relativity to be beatable. The Charged Temporal Dreadnought replenishes its shields instantly and restores its hull every round unless the Relativity’s Anti-Charged Shift ability is active. The Static Temporal Dreadnought raises its Isolytic Damage every round and replenishes its shields unless the Anti-Static Shift ability is active. The Neutral Temporal Dreadnought has no phase alignment, so it can be beaten without the Relativity. All three carry a Temporal Core that adds Isolytic Cascade, Isolytic Defense and Apex Barrier for the whole battle. Reaching the higher Krenim systems depends on the Relativity Warp Range research node, so that is the upgrade to prioritize if the systems you want are out of reach.
Krenim Warships locations
The Static and Charged Krenim Warships are a separate pair of Krenim invader targets, from level 42 to 70, and both sit in the same system at each level. Static Warships raise their Isolytic Damage every round and Charged Warships raise their Apex Barrier every round, each unless the opposite status effect is present; the counters are the Anti-Static and Anti-Charged Krenim Invaders Exocomps from the DTI Faction Store. Fights against Charged Warships end after 30 rounds and against Static Warships after 50.
| Level | System | Warp | Temporal Wreckage per kill |
|---|---|---|---|
| 42 | Xyren Cluster, Chalor Prime, Valtara Nexus | 80 | 30 to 40 |
| 44 | Kryndor, Zephyra | 125 | 60 to 70 |
| 46 | Orenthis Constellation, Aeloria Triad | 150 | 120 to 140 |
| 48 | Lyssara | 175 | 250 to 300 |
| 50 | Nivara | 190 | 500 to 600 |
| 52 | Jenthara Drift | 210 | 1,750 to 2,100 |
| 54 | Solyxis Pathway | 280 | 3,450 to 4,150 |
| 56 | Myrthian | 280 | 6,900 to 8,300 |
| 58 | Dravon Expanse | 440 | 13,800 to 16,550 |
| 60 | Veil Primus | 440 | 27,650 to 33,200 |
| 62 | Cyrenthis Array | 900 | 99,550 to 119,450 |
| 64 | Rilnar | 1150 | 199,050 to 238,850 |
| 66 | Qalnax | 1200 | 398,150 to 477,800 |
| 68 | Kyana | 1300 | 796,250 to 955,500 |
| 70 | Vesperith Zone | 1500 | 1,592,500 to 1,911,000 |
How to start one
Standard and Rare formation armadas each cost 100 Formation Armada Directives. Daily Goal completions are the reliable source, and store offers top you up. Krenim formations cost 100 Krenim Formation Directives instead, and those come from the Department of Temporal Investigations faction store rather than Daily Goals.
One thing to know before you invest in your station: the Armada Control Center size bonus does not apply to formation armadas. The building helps your standard armadas, but it will not add a ship slot here.
How the fight works
The encounter is a central core with three armadas branching off it. Three teams of four commanders take one target each, twelve players in total, and the teams do not have to be from the same alliance. Starting the first armada begins a 15 minute timer, and the other two inherit that clock as they launch. That shared timer is the whole difficulty. Two other players have to start the remaining two targets, and any player from any alliance can take those slots, so if you want your own alliance on all three you need to move quickly after the first launch. You can kill the three targets separately and still get paid, but killing all three unlocks the mega chest.
Each target has a different weak hull
The three targets in a standard or Rare formation are not identical. One carries an Interceptor Isolytic Vulnerability, one a Battleship Isolytic Vulnerability and one an Explorer Isolytic Vulnerability. When a target attacks a ship of its weak hull at the start of a round, its Isolytic Defense drops by 20% for that round. Build each team of four around the hull its target is weak to, and your Isolytic damage lands harder all fight.
In the standard formation you fight Species 8472, which crossed into our dimension through quantum singularities from fluidic space. Each target is a simulation of a Starfleet Headquarters structure built for reconnaissance and intelligence gathering, which is why the encounter looks like a base assault rather than a fleet battle.
Rewards and chests
Even a failed formation armada pays something. The player who starts an armada gets a chest, every participant gets Artifact Tokens, and one participant is picked at random for a second, smaller chest. Start an armada and take down all three targets and you collect twice: the starter chest plus the mega chest for the full clear. The Artifact Token payout per target climbs from 2,000 at level 30 to 3,000 at level 55, and from 2,700 to 4,207 on the Rare track.
Artifact Tokens feed the Artifact Gallery, where artifacts give buffs across a wide range of gameplay. That gallery is the real reason to run formations rather than any single drop. Krenim formations run on their own currencies: Krenim Temporal Wreckage exchanges in the DTI Faction Store for Static or Charged bundles, scaled by your USS Relativity tier, and Encrypted Intelligence exchanges for faction reputation.
Crew
Formation armada crews are the same ones you would take into a standard armada. Five of Eleven as captain with Six of Eleven and Khan is the long-standing setup, with below decks weighted toward attack and health. The health weighting matters more here than in a solo armada, because the shared timer means you need to last the full fight. Crew picks shift with the meta, so check the officer tier list for newer options.
Formation armada stats
These are the stats for one target at each standard formation level. The upper targets carry heavy shields as well as hull, so shield piercing earns its slot.
| Standard | Power | Hull HP | Shield HP | Attack | Damage per round | Defense |
|---|---|---|---|---|---|---|
| Level 30 | 9,794,986 | 9,017,600 | 8,631,416 | 549,428 | 395,211 | 421,050 |
| Level 35 | 19,016,818 | 15,444,000 | 15,429,216 | 2,005,210 | 1,492,944 | 1,575,000 |
| Level 40 | 123,855,093 | 110,451,834 | 100,754,124 | 13,447,074 | 12,326,448 | 4,805,040 |
| Level 45 | 415,438,512 | 407,579,518 | 382,925,518 | 13,293,824 | 9,922,156 | 6,892,170 |
| Level 50 | 870,590,395 | 955,639,154 | 675,714,154 | 39,620,566 | 33,320,442 | 15,293,175 |
| Level 55 | 1,452,691,222 | 1,895,694,947 | 805,692,154 | 63,990,416 | 53,194,634 | 38,007,255 |
| Rare | Power | Hull HP | Shield HP | Attack | Damage per round | Defense |
|---|---|---|---|---|---|---|
| Level 31 | 21,328,347 | 19,539,899 | 18,703,092 | 1,785,802 | 1,284,551 | 421,050 |
| Level 38 | 77,569,715 | 63,632,369 | 63,571,456 | 12,392,802 | 9,226,842 | 1,575,000 |
| Level 41 | 181,360,235 | 172,781,185 | 157,610,936 | 11,359,134 | 10,412,505 | 4,805,040 |
| Level 46 | 637,722,140 | 631,391,621 | 593,199,493 | 18,534,413 | 13,833,593 | 6,892,170 |
| Level 51 | 1,172,578,373 | 1,315,915,115 | 930,458,390 | 34,098,446 | 28,676,405 | 15,293,175 |
| Level 56 | 2,412,073,338 | 3,158,550,050 | 1,342,420,096 | 123,581,010 | 102,731,739 | 38,007,255 |
| Level 60 | 4,243,690,706 | 6,289,790,881 | 1,661,739,718 | 191,910,897 | 160,071,558 | 76,014,510 |
Where to go next
For armada types outside the formation track, armada locations covers targets by faction and level, solo armadas covers the ones you can run alone, and Swarm armadas covers Swarm space.