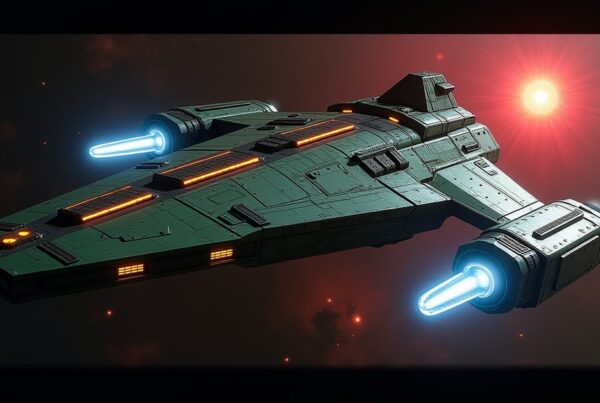
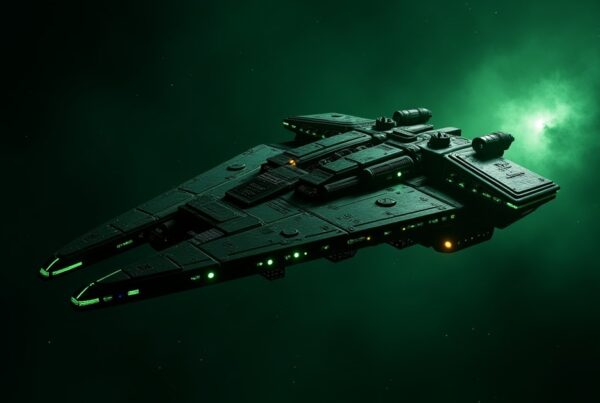
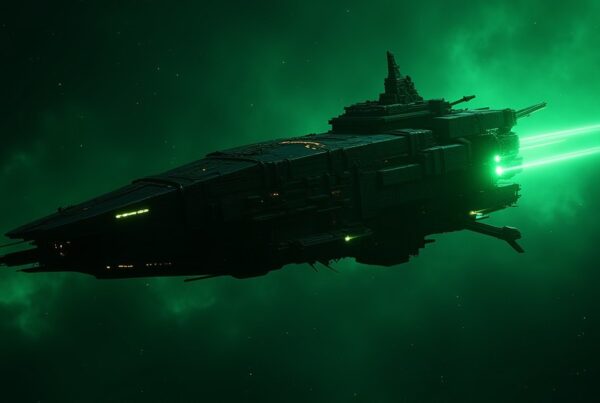
Lost hostiles in STFC are a family of eight Neutral roaming hostiles that share the same spread of levels, roughly 25 to 60, and the same pattern of drops: a core resource at the low levels and 4★ Broken Parts from the low 40s. The Lost Scouting Bandit is the Explorer of the group, found from level 27 in Eviloy, Kalak and Uxal (warp 25) to level 60 in systems like Tak Tak (warp 225). Bring a Battleship to counter it. It drops Tritanium at levels 27 to 39 and 4★ Broken Explorer Parts at levels 42 to 60.
Lost hostiles compared
Each Lost hostile spawns as a single hull, so each has one counter class. The table shows which ship to bring and which resource each one pays, so you can pick the Lost hostile that drops what you need.
| Hostile | Hull | Bring | Levels | Low-level drop | High-level drop |
|---|---|---|---|---|---|
| Lost Scouting Bandit | Explorer | Battleship | 27–60 | Tritanium | 4★ Broken Explorer Parts |
| Lost Orion Slaver | Explorer | Battleship | 25–58 | Tritanium | 4★ Broken Explorer Parts |
| Lost Takret Militia | Explorer | Battleship | 26–59 | Tritanium | 4★ Broken Explorer Parts |
| Lost Gorn Warship | Interceptor | Explorer | 27–60 | Parsteel | 4★ Broken Interceptor Parts |
| Lost Nausicaan Outlaw | Interceptor | Explorer | 25–58 | Parsteel | 4★ Broken Interceptor Parts |
| Lost Unknown Alien | Interceptor | Explorer | 26–59 | Parsteel | 4★ Broken Interceptor Parts |
| Lost Sona Pirate | Battleship | Interceptor | 27–60 | Dilithium | 4★ Broken Battleship Parts |
| Lost Andorian Bounty Hunter | Battleship | Interceptor | 26–59 | Dilithium | 4★ Broken Battleship Parts |
The pattern is simple: Explorer-hull Lost hostiles pay Tritanium, Interceptor-hull ones pay Parsteel, and Battleship-hull ones pay Dilithium, then each switches to Broken Parts for its own hull type at the higher levels.
How to beat the Lost Scouting Bandit
The Lost Scouting Bandit only appears as an Explorer, and Battleships beat Explorers. Bring a Battleship and you hold the hull advantage across the whole level 27 to 60 range, with nothing to swap as you move up. It has no ship ability to plan around, so the fight comes down to matching hull and warp and bringing enough firepower for the level you pick.
For crew, put a captain that boosts weapon damage against hostiles in the captain’s chair, then fill the other seats with officers that add damage or mitigation. If you are still early and clearing the level 27 to 39 spawns, the cadet crew does the job: Cadet Kirk as captain with Cadet Spock and Cadet Uhura. For current top picks, check the Officer Tier List. Crews shift with the meta, so treat any named lineup as a starting point.
Where to find the Lost Scouting Bandit
The Lost Scouting Bandit spawns every three levels, from 27 to 60, and spreads across a lot of systems: up to 31 systems share a single level. The spawns from 27 to 36 sit at warp 25, and the warp requirement climbs as the levels rise, reaching 225 for the level 60 version. Match your warp range to the level you want to farm, then pick the closest system on the row.
| Level | Warp | Systems |
|---|---|---|
| 27 | 25 | Eviloy, Kalak, Uxal |
| 30 | 25 | Antaria, Ba’Neth, Eviloy, Kalak, Miranil, Razrom |
| 33 | 25 | Antaria, Arcaelus (warp 34), Ba’Neth, Dareb (warp 34), Deesha, Dinaal, Elor (warp 34), Kabiuko, Kalak, Karuna, Kobali, Malon Vortex, Miranil, Monea, Nygea, Pelycos (warp 34), Razrom, Shokomylk (warp 34), Tekara, Teota (warp 34), Think Tank, Tolonus, Tugaash, Vendoo (warp 34), Verto Peyl, Zahl |
| 36 | 25 | Antaria, Arcaelus (warp 34), Dareb (warp 34), Deesha, Dinaal, Elor (warp 34), FSEP-168 (warp 42), FSEP-40840 (warp 42), Hazari (warp 40), Kabiuko, Karuna, Kobali, Malon Vortex, Minkalal, Miranil, Monea, Murray (warp 42), Nygea, Pelycos (warp 34), Ryce-20 (warp 42), Shokomylk (warp 34), Taral (warp 42), Tekara, Teota (warp 34), Think Tank, Thrima (warp 42), Tolonus, Tugaash, Vendoo (warp 34), Verto Peyl, Zahl |
| 39 | 28 | Arcaelus, Dareb, Elor, FSEP-168 (warp 42), FSEP-40840 (warp 42), Hazari (warp 40), Korzans (warp 56), Kraylor (warp 56), Lovmet (warp 60), Minkalal, Murray (warp 42), Pelycos, Ryce-20 (warp 42), Sadell (warp 58), Shokomylk, Taral (warp 42), Teota, Thrima (warp 42), Vaskan Kyrian, Vendoo, Veringan (warp 65) |
| 42 | 28 | Dawise (warp 75), Finnes Expanse (warp 100), Ithmiris (warp 100), Korzans (warp 56), Kraylor (warp 56), Lovmet (warp 60), New Talax (warp 90), Quarra (warp 75), Ramar (warp 90), Rovah (warp 75), Sadell (warp 58), Stambo (warp 120), Vaadwaur (warp 105), Valla Terna (warp 90), Vaskan Kyrian, Veltharion (warp 100), Veringan (warp 65), Vorex Cluster (warp 100), Zorathis (warp 100) |
| 45 | 75 | Armanis Nebula (warp 125), Benn’s Field (warp 125), Dawise, Finnes Expanse (warp 100), Ithmiris (warp 100), Kraydin Vori (warp 100), New Talax, Padilac (warp 150), Quarra, Ramar, Rovah, Solquinnar (warp 125), Stambo (warp 120), Vaadwaur (warp 105), Valla Terna, Veltharion (warp 100), Vorex Cluster (warp 100), Xandovara Rift (warp 125), Zorathis (warp 100) |
| 48 | 90 | Aran, Armanis Nebula (warp 125), Benn’s Field (warp 125), Dijor’joh, Fygl (warp 240), Grealo (warp 205), Kraydin Vori, Neken (warp 205), New Talax, Padilac (warp 150), Partridgeous III (warp 190), Ramar, Ryabovali Primus (warp 150), Solquinnar (warp 125), Stambo (warp 120), Valla Terna, Xandovara Rift (warp 125) |
| 51 | 100 | Aran, Dijor’joh, Fygl (warp 240), Grealo (warp 205), Kraydin Vori, Leichter (warp 160), Naidu Reach (warp 280), Neken (warp 205), Padilac (warp 150), Partridgeous III (warp 190), Ryabovali Primus (warp 150), Sakari (warp 160), Suvfa (warp 160), Ventalis II (warp 280) |
| 54 | 160 | Burdow (warp 200), Estru Partis (warp 450), Fygl (warp 240), Grealo (warp 205), Jettas (warp 200), Leichter, Litzarr (warp 300), Malon Prime (warp 320), Naidu Reach (warp 280), Neken (warp 205), Sakari, Suvfa, Tzhaelor (warp 450), Ventalis II (warp 280) |
| 57 | 200 | Burdow, Estru Partis (warp 450), Gawalara (warp 440), Itharion Reach (warp 450), Jaslyn (warp 250), Jettas, Litzarr (warp 300), Malon Prime (warp 320), Meera (warp 450), Sivis (warp 250), Tak Tak, Tzhaelor (warp 450) |
| 60 | 225 | Eryndor Veil (warp 1000), Estru Partis (warp 450), Gawalara (warp 440), Ilkis (warp 1200), Itharion Reach (warp 450), Jaslyn, Meera (warp 450), Sivis, Tak Tak, Talstris (warp 1100), Tzhaelor (warp 450) |
Rewards and what it drops
What the Lost Scouting Bandit drops depends on the level you fight. From level 27 to 39 it hands over Tritanium, 5,635 to 13,386 per kill. From level 42 up it drops 4★ Broken Explorer Parts, 196 to 10,676 per kill. Ship XP climbs steeply with level, from 423 at level 27 to 11,904 at level 60, so the higher spawns pay off more if you are leveling a ship.
| Drop | Levels | What it is |
|---|---|---|
| Tritanium | 27–39 | A core construction material used heavily for ship tiering and buildings. |
| 4★ Broken Explorer Parts | 42–60 | Salvage used to tier up 4★ Explorer-class ships. |
Lost Scouting Bandit stats
Stats climb steeply with level, so use these rows as a rough guide to the low, middle and top of its range.
| Level | Total strength | Hull HP | Shield HP | Attack | Defense | Ship XP |
|---|---|---|---|---|---|---|
| 27 | 92,652 | 14,360 | 20,750 | 35,847 | 39,250 | 423 |
| 45 | 8,823,605 | 3,725,434 | 5,215,610 | 3,021,313 | 1,331,770 | 2,125 |
| 60 | 401,356,354 | 163,027,214 | 228,238,278 | 147,167,528 | 58,556,080 | 11,904 |
Lost Scouting Bandit firing pattern
The Lost Scouting Bandit fires three Energy weapons, each hitting every round, with a 10% chance of a 1.5x critical hit. All of its fire is Energy, so shield mitigation does a lot of work here, and repairs can be planned around steady per-round damage rather than bursts. These figures are from level 27 and climb with level.
| Weapon type | Count | Damage per shot | Fires | Crit |
|---|---|---|---|---|
| Energy | 3 | 5,184–6,336 | Every round | 10% (1.5x) |
Is the Lost Scouting Bandit worth grinding?
Yes, if you need Tritanium in the early game or 4★ Broken Explorer Parts later on, and its steep ship XP makes it useful for leveling a Battleship. With so many systems per level you rarely have to fly far to find one. Match your warp to the level you are farming and bring a Battleship to counter its Explorer hull. If you need Parsteel or Dilithium instead, switch to one of the other Lost hostiles in the table above; the Scouting Bandit is the non-Lost version of this ship.