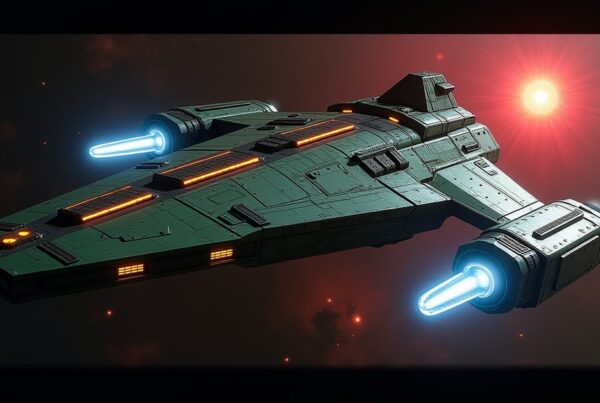
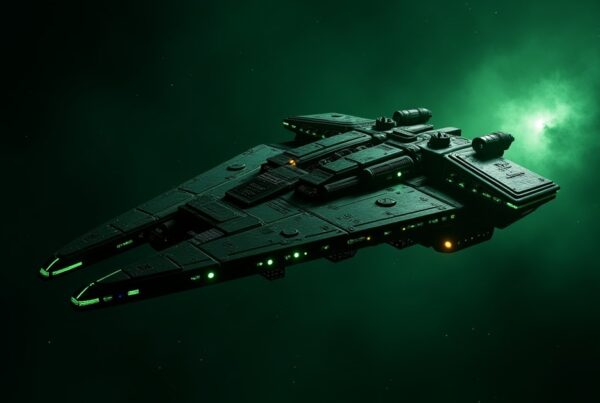
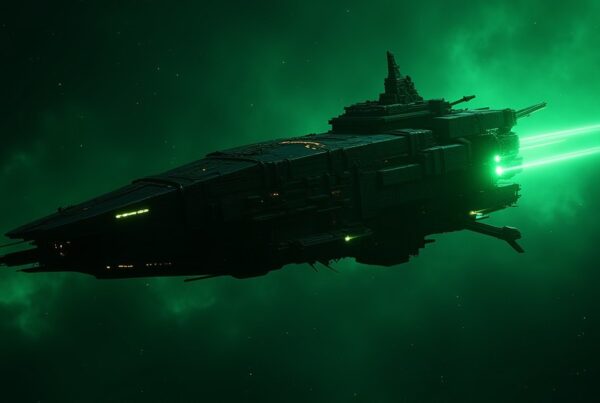
The Reman Bounty Hunter is a neutral hostile in Star Trek Fleet Command that roams the Romulan frontier at two separate level bands, roughly 35 to 41 and 61 to 66. It spawns as an Interceptor, Battleship, or Explorer, and it appears both as the regular Reman Bounty Hunter and as a hazard-zone version the game tags “Reman Bounty Hunter HAZ”; this guide covers both. The high band drops 6-star Broken ship parts. To beat it, bring the hull class that counters the variant in front of you.
How to beat the Reman Bounty Hunter
Combat in STFC runs on a hull-counter triangle. Interceptors beat Battleships, Battleships beat Explorers, and Explorers beat Interceptors. Survey ships barely fight, so leave them docked. The Reman Bounty Hunter turns up in all three combat hulls, so match your ship to the spawn you are hitting: send an Interceptor against its Battleship form, a Battleship against its Explorer form, and an Explorer against its Interceptor form. Check the target’s hull before you engage, because the counter you need changes with it.
Watch the gap between the two level bands before you commit a fleet. The level 41 spawn sits around 4 million total strength, while the level 66 hazard-zone spawn is past 15 billion. That is a huge jump for only 25 levels, so a fleet that clears the low band will get wrecked in deep space. Level up your ships and gear before you chase the 61-and-up spawns for their better drops.
For crew, seat a captain who raises weapon damage against hostiles, then fill the other chairs with officers that add damage or shield mitigation. The strongest specific picks move with the meta, so pull your lineup from the current Officer Tier List rather than a fixed roster. Treat any named crew as a starting point, since new officers regularly reshuffle the best options.
Where to find the Reman Bounty Hunter
The Reman Bounty Hunter clusters in two warp ranges. The lower-level spawns, levels 35 to 41, sit in near-frontier systems like Forseti, Vanir, and Devoras at warp 27 to 38, so most mid-game players can reach them without a long haul. The level 61 and up spawns are the hazard-zone version, parked in deep systems such as Grida-7, Qudorin, and izar that need warp 1000 to 1100. Those deeper systems carry the higher-level spawns and the better drops. Set your warp range to the band you want before you fly out.
| Level | Warp | Systems |
|---|---|---|
| 35–36 | 27 | Forseti, Vanir |
| 37–39 | 27 | Caerulum (warp 46), Dessica (warp 39), Devoras (warp 38), Fafniri (warp 50), Forseti, Ophiuchi (warp 45), Vanir, YoDSutlj NaQ (warp 61) |
| 40–41 | 38 | Caerulum, Dessica, Devoras, Fafniri (warp 50), Ophiuchi, YoDSutlj NaQ (warp 61) |
| 61–65 | 1000 | Grida-7, Ja’lana, Lanasta, Qudorin, Tir Duha, Tir Morta, ilargia, izar |
| 66 | 1100 | Grida-7, Lanasta, Qudorin, ilargia, izar |
Rewards and what it drops
The real payout comes from the high-level band. At levels 61 to 66 the Reman Bounty Hunter drops 6-star Broken ship parts in all four types, which feed ship component upgrades at the top tiers. The low-level spawns give only small amounts of Parsteel and the occasional 4-star Broken Interceptor Part, so they are not worth farming for parts. Ship XP climbs steeply with level, so the high band also works as XP grinding.
| Drop | What it is |
|---|---|
| 6★ Broken Interceptor Parts | High-tier parts for upgrading Interceptor-class ships |
| 6★ Broken Explorer Parts | High-tier parts for upgrading Explorer-class ships |
| 6★ Broken Battleship Parts | High-tier parts for upgrading Battleship-class ships |
| 6★ Broken Survey Parts | High-tier parts for upgrading Survey (mining) ships |
Reman Bounty Hunter stats
Stats vary by hull variant and climb steeply with level. These anchor rows come from the Interceptor variant at the low, mid, and high ends of the range.
| Level | Total strength | Hull HP | Shield HP | Attack | Defense | Ship XP |
|---|---|---|---|---|---|---|
| 35 | 538,186 | 72,000 | 72,000 | 241,186 | 225,000 | 703 |
| 41 | 4,083,334 | 2,160,925 | 2,160,925 | 1,234,739 | 687,670 | 1,625 |
| 66 | 15,515,046,285 | 10,600,071,282 | 10,600,071,282 | 4,429,443,398 | 485,531,605 | 29,600 |
Reman Bounty Hunter firing pattern
The Reman Bounty Hunter fires two weapon groups. A single Energy weapon fires every round for steady pressure, while a pair of Kinetic weapons hits harder but only every other round. Time your repairs or mitigation around the Kinetic volley, since that is the burst that does the most damage in one hit.
| Weapon type | Count | Damage per shot | Fires | Crit |
|---|---|---|---|---|
| Energy | 1 | 34,800–42,533 | Every round | 10% (1.5x) |
| Kinetic | 2 | 83,520–102,080 | Every other round | 10% (1.5x) |
The Remans in Star Trek
The Remans come from Remus, the sister world of Romulus in the Romulan Star Empire. Kept as a slave underclass, they mined dilithium and served as expendable shock troops while the Romulans denied them any standing of their own. Life on the dark side of their tidally locked planet left them pale and sensitive to light. They stepped into the wider story in Star Trek: Nemesis, when the Reman leader Shinzon seized power on Romulus and tried to turn his people’s resentment into a bid for conquest. In Fleet Command, Reman crews turn up along the Romulan frontier as raiders and bounty hunters.
Is the Reman Bounty Hunter worth grinding?
The high-level Reman Bounty Hunter earns its place if you need 6-star Broken parts or fast ship XP, since one grind drops all four part types. The low-level band is thin on rewards and better skipped once you have outleveled it. Match your warp range to the band, check the spawn’s hull, and bring the class that counters it before you commit.