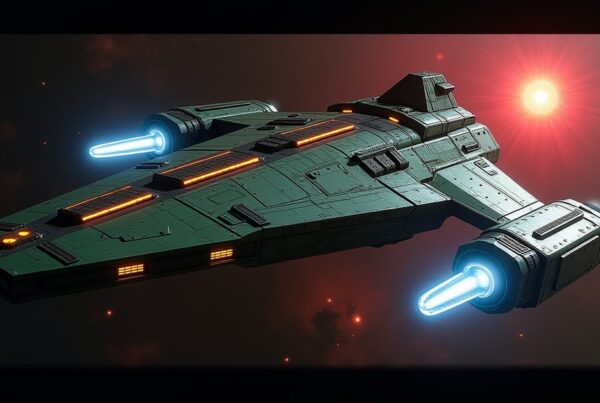
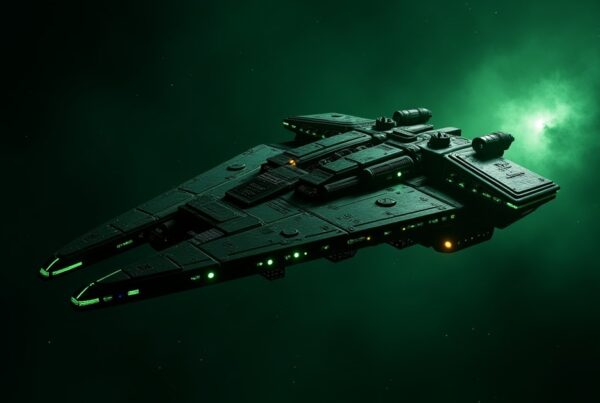
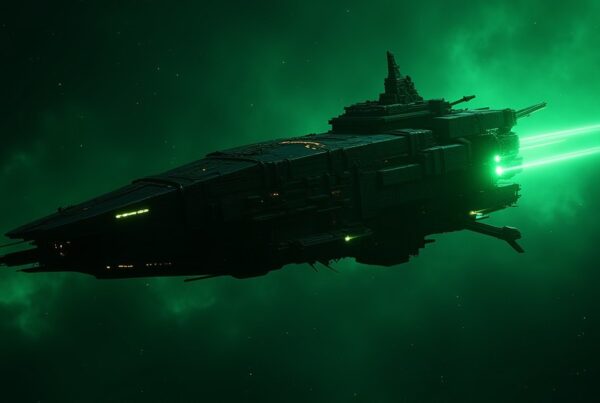
The Surgewalker Devourer is a Neutral hostile that roams as a Battleship across levels 69 to 81, out in high-warp deep space. It drops 7-star Broken Battleship Parts and 7-star Broken Survey Parts, which makes it an endgame farm for players finishing off top-tier ship builds. Because it only ever appears as a Battleship, bring an Interceptor and come ready for an Isolytic fight.
How to beat the Surgewalker Devourer
The Devourer spawns as a Battleship and nothing else, so there is no hull to swap between as you climb the levels. Battleships are countered by Interceptors, which makes an Interceptor the ship to bring. Match your combat power to the level you are hitting, because its stats rise steeply from level 69 to 81.
This is a high-end Isolytic target, and two always-active abilities shape the fight. “Something to Prove” pushes its Isolytic Damage to enormous levels, from roughly 3,425% at level 69 up to about 45,770% at level 81, and it shreds part of your Apex Barrier the moment combat begins. “Double Down” raises its own Isolytic Defense, adds a large block of Apex Barrier for itself, and locks the hostile’s critical damage so it never drops below 100%. So the Devourer opens by chipping your Apex Barrier and then leans on Isolytic damage. Bring your own Apex Barrier and Isolytic mitigation before you engage, and kill it quickly so those abilities have less time to stack against you.
For crew, the principle at this level is a captain that boosts weapon damage against hostiles paired with officers that add damage or mitigation. The cadet crews that carry early players are long behind you by level 69, so lean on your current endgame bridge instead. Crews shift with the meta, so check the Officer Tier List for the picks that are strong right now.
Where to find the Surgewalker Devourer
The Devourer clusters in high-warp systems and pushes deeper as its level rises. The low end sits at warp 1550 around level 69, and the warp requirement climbs steadily to 5000 by level 81, so the hardest spawns sit in the farthest systems. Pick a level you can beat, then match its warp range before you fly out.
| Level | Warp | Systems |
|---|---|---|
| 69 | 1550 | Abrinda, Alphioma, Anubis Expanse, Crossroads, Danfalya, Hermes Nebula, Kithmór, Lligerium, Nichenei, Oraalen, Ro’Antcha, Sendisez, Thocara, Yohuri |
| 70 | 1550 | Abrinda, Alphioma, Anubis Expanse, Crossroads, Danfalya, Eurrea (warp 2100), Grauga (warp 2100), Hermes Nebula, Kithmór, Lligerium, Miyukara (warp 2100), Nichenei, Ohz’Ahtis (warp 2100), Oraalen, Ro’Antcha, Sendisez, Thocara, Yohuri |
| 71 | 1550 | Abrinda, Alphioma, Anubis Expanse, Crossroads, Danfalya, Draxolei (warp 3000), Eurrea (warp 2100), Grauga (warp 2100), Hermes Nebula, Janus Sector (warp 3000), Kithmór, Leba’Rha (warp 3000), Lligerium, Miyukara (warp 2100), Nichenei, Ohz’Ahtis (warp 2100), Oraalen, Ro’Antcha, Sendisez, Thermopylae (warp 3000), Thocara, Yohuri |
| 72 | 1550 | Abrinda, Alphioma, Anubis Expanse, Crossroads, Danfalya, Draxolei (warp 3000), Eurrea (warp 2100), Grauga (warp 2100), Hermes Nebula, Janus Sector (warp 3000), Kithmór, Leba’Rha (warp 3000), Lligerium, Miyukara (warp 2100), Nichenei, Nomicuz (warp 3500), Ohz’Ahtis (warp 2100), Oraalen, Oscuma (warp 3500), Ro’Antcha, Sendisez, Thermopylae (warp 3000), Thocara, Ugnardan (warp 3500), Xoburn (warp 3500), Yohuri |
| 73 | 1550 | Abrinda, Alphioma, Anubis Expanse, Cezeon (warp 4000), Crossroads, Danfalya, Draxolei (warp 3000), Eurrea (warp 2100), Grauga (warp 2100), Hermes Nebula, Janus Sector (warp 3000), Ker’Anh (warp 4000), Kilmihil (warp 4000), Kithmór, Leba’Rha (warp 3000), Lligerium, Miyukara (warp 2100), Nichenei, Nomicuz (warp 3500), Ohz’Ahtis (warp 2100), Oraalen, Oscuma (warp 3500), Quadoria (warp 4000), Ro’Antcha, Sendisez, Thermopylae (warp 3000), Thocara, Ugnardan (warp 3500), Xoburn (warp 3500), Yohuri |
| 74 | 1550 | Abrinda, Alphioma, Ambrilon (warp 4500), Anubis Expanse, Cezeon (warp 4000), Danfalya, Draxolei (warp 3000), Eurrea (warp 2100), Grauga (warp 2100), Hermes Nebula, Janus Sector (warp 3000), Ker’Anh (warp 4000), Kilmihil (warp 4000), Kithmór, Leba’Rha (warp 3000), Lligerium, Miyukara (warp 2100), Nichenei, Nomicuz (warp 3500), Ohz’Ahtis (warp 2100), Oscuma (warp 3500), Quadoria (warp 4000), Rha’Pir (warp 4500), Thermopylae (warp 3000), Thocara, Ugnardan (warp 3500), Xoburn (warp 3500), Yohuri, Zavishe (warp 4500), Zulather (warp 5000) |
| 75 | 1600 | Abrinda, Ambrilon (warp 4500), Baxohria (warp 5000), Cezeon (warp 4000), Charon’s Edge (warp 5000), Danfalya, Draxolei (warp 3000), Eurrea (warp 2100), Grauga (warp 2100), Janus Sector (warp 3000), Ker’Anh (warp 4000), Kilmihil (warp 4000), Leba’Rha (warp 3000), Limen Cluster (warp 5000), Miyukara (warp 2100), Nichenei, Nomicuz (warp 3500), Ohz’Ahtis (warp 2100), Omvictus (warp 5000), Oscuma (warp 3500), Quadoria (warp 4000), Rha’Pir (warp 4500), Silumnia (warp 5000), Thermopylae (warp 3000), Thocara, Ugnardan (warp 3500), Xoburn (warp 3500), Yohuri, Zavishe (warp 4500), Zulather (warp 5000) |
| 76 | 2100 | Ambrilon (warp 4500), Baxohria (warp 5000), Cezeon (warp 4000), Charon’s Edge (warp 5000), Coerún (warp 5500), Draxolei (warp 3000), Eurrea, Grauga, Janus Sector (warp 3000), Ker’Anh (warp 4000), Kilmihil (warp 4000), Leba’Rha (warp 3000), Limen Cluster (warp 5000), Miyukara, Nomicuz (warp 3500), Ohz’Ahtis, Omvictus (warp 5000), Oscuma (warp 3500), Quadoria (warp 4000), Rha’Pir (warp 4500), Rofúar (warp 5500), Silumnia (warp 5000), Thermopylae (warp 3000), Ugnardan (warp 3500), Vanarsei (warp 5500), Xoburn (warp 3500), Yarahlia (warp 5500), Zavishe (warp 4500), Zulather (warp 5000) |
| 77 | 3000 | Ambrilon (warp 4500), Bah’Ranthi (warp 6000), Baxohria (warp 5000), Cezeon (warp 4000), Charon’s Edge (warp 5000), Coerún (warp 5500), Diphamya (warp 6000), Draxolei, Janus Sector, Ker’Anh (warp 4000), Kilmihil (warp 4000), Leba’Rha, Limen Cluster (warp 5000), Merkoral (warp 6000), Nomicuz, Omvictus (warp 5000), Oscuma, Quadoria (warp 4000), Rha’Pir (warp 4500), Rofúar (warp 5500), Rotché (warp 6000), Silumnia (warp 5000), Thermopylae, Ugnardan, Vanarsei (warp 5500), Xoburn, Yarahlia (warp 5500), Zavishe (warp 4500), Zulather (warp 5000) |
| 78 | 3500 | Ambrilon (warp 4500), Bah’Ranthi (warp 6000), Baxohria (warp 5000), Cezeon, Charon’s Edge (warp 5000), Coerún (warp 5500), Diphamya (warp 6000), Ker’Anh, Kilmihil, Limen Cluster (warp 5000), Merkoral (warp 6000), Nomicuz, Omvictus (warp 5000), Oscuma, Quadoria, Rha’Pir (warp 4500), Rofúar (warp 5500), Rotché (warp 6000), Silumnia (warp 5000), Ugnardan, Vanarsei (warp 5500), Xoburn, Yarahlia (warp 5500), Zavishe (warp 4500), Zulather (warp 5000) |
| 79 | 4000 | Ambrilon, Bah’Ranthi (warp 6000), Baxohria (warp 5000), Cezeon, Charon’s Edge (warp 5000), Coerún (warp 5500), Diphamya (warp 6000), Ker’Anh, Kilmihil, Limen Cluster (warp 5000), Merkoral (warp 6000), Omvictus (warp 5000), Quadoria, Rha’Pir, Rofúar (warp 5500), Rotché (warp 6000), Silumnia (warp 5000), Vanarsei (warp 5500), Yarahlia (warp 5500), Zavishe, Zulather (warp 5000) |
| 80 | 4500 | Ambrilon, Bah’Ranthi (warp 6000), Baxohria, Charon’s Edge, Coerún, Diphamya (warp 6000), Limen Cluster, Merkoral (warp 6000), Omvictus, Rha’Pir, Rofúar, Rotché (warp 6000), Silumnia, Vanarsei, Yarahlia, Zavishe, Zulather |
| 81 | 5000 | Bah’Ranthi, Baxohria, Charon’s Edge, Coerún, Diphamya, Limen Cluster, Merkoral, Omvictus, Rofúar, Rotché, Silumnia, Vanarsei, Yarahlia |
Rewards and what it drops
The Devourer pays out high-tier ship parts, which is why endgame players farm it. Both drops scale in quantity with the level you hit, and ship XP climbs alongside them, so higher spawns return more per kill if your ship can handle them.
| Drop | What it is |
|---|---|
| 7★ Broken Battleship Parts | Top-tier battleship components used to build and upgrade endgame battleships |
| 7★ Broken Survey Parts | Top-tier survey components used to build and upgrade endgame survey (mining) ships |
Surgewalker Devourer stats
Stats climb steeply with level, so treat these anchor rows as low, mid, and high reference points rather than the value at every level.
| Level | Total strength | Hull HP | Shield HP | Attack | Defense | Ship XP |
|---|---|---|---|---|---|---|
| 69 | 2,667,575,158,264 | 5,073,974,332,804 | 248,376,365,941 | 4,682,582,526 | 1,717,226,365 | 45,000 |
| 75 | 32,608,387,595,525 | 61,789,358,268,034 | 3,024,653,901,232 | 166,251,545,287 | 35,129,965,605 | 83,500 |
| 81 | 1,172,278,992,239,648 | 2,223,800,222,236,970 | 108,857,353,536,076 | 5,176,092,622,856 | 774,111,730,270 | 125,500 |
Surgewalker Devourer firing pattern
The Devourer fires two weapon groups. Its Kinetic guns hit far harder per shot but only fire every other round, while its Energy guns are lighter and fire every round. Time your mitigation or repairs for the Kinetic volleys, since those rounds do the most damage.
| Weapon type | Count | Damage per shot | Fires | Crit |
|---|---|---|---|---|
| Energy | 2 | 164,533,071–193,147,518 | Every round | 10% (1.5x) |
| Kinetic | 2 | 987,198,425–1,158,885,108 | Every other round | 10% (1.5x) |
Is the Surgewalker Devourer worth grinding?
Yes, if you are at the level for it. The 7-star Broken Battleship and Survey Parts it drops feed endgame ship builds you cannot easily stockpile elsewhere, and the ship XP is solid. Match the warp range for the level you can clear, bring an Interceptor to counter its Battleship hull, and keep your Apex Barrier and Isolytic mitigation ready for the opening rounds.