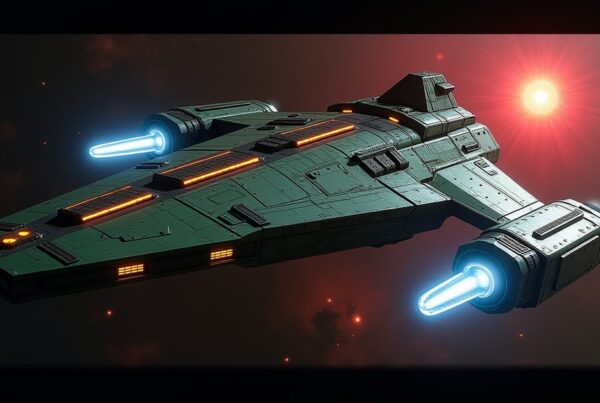
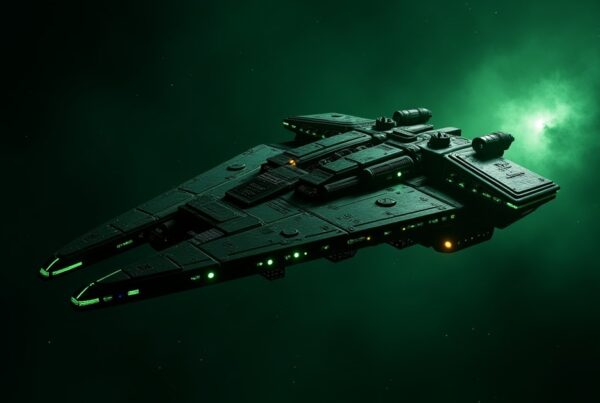
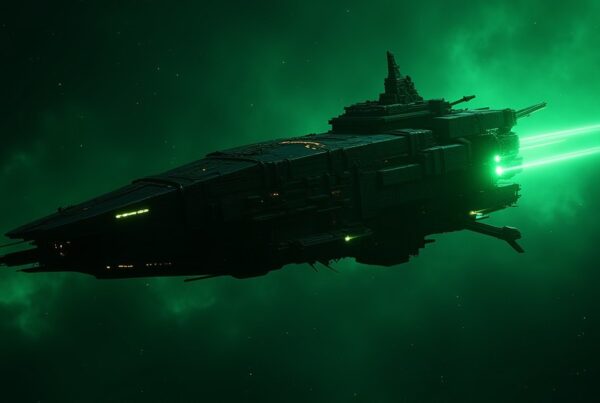
Doomsday Worm locations in STFC run from warp 20 to warp 27 in neutral space. The level 27 Worm spawns in Elya, Piya and Villo at warp 20, and levels 32 to 46 spread across 14 more systems at warp 24 to 27, from Etalon, Kullendi, Mezara, Yifarux and Zendauni at the low end to Hollin, Kendi and Zin-45 at level 46. There are no Worms at levels 28 to 31. It is a Neutral hostile that spawns as a Battleship, Explorer or Interceptor and drops Parsteel, Dilithium and Tritanium.
Doomsday Worm locations and systems
The low band is tiny: level 27 appears only in Elya, Piya and Villo. From level 32 the Worm fills a wider belt of systems, and each system carries it across several consecutive levels, so most of the list below repeats from row to row. Warp is 24 for levels 32 to 36 and 27 for levels 37 to 46. If your ships cannot reach warp 27 yet, you are capped at the level 36 and lower spawns.
| Level | Warp | Systems |
|---|---|---|
| 27 | 20 | Elya, Piya, Villo |
| 32 | 24 | Etalon, Kullendi, Mezara, Yifarux, Zendauni |
| 33–34 | 24 | Etalon, Kullendi, Mezara, Nya Tuum, Yifarux, Zendauni |
| 35 | 24 | Etalon, Kullendi, Mal’Tahn, Mezara, Nya Tuum, Yifarux, Zendauni |
| 36 | 24 | Kullendi, Mal’Tahn, Mezara, Nya Tuum, Yifarux, Zendauni |
| 37 | 27 | Doka, Kullendi, Mal’Tahn, Nya Tuum, Yifarux, Zendauni |
| 38 | 27 | Doka, Mal’Tahn, Nya Tuum, Yifarux, Zendauni |
| 39 | 27 | Doka, Enzocas, Kordindr, Mal’Tahn, Napiar, Nya Tuum |
| 40 | 27 | Doka, Enzocas, Kordindr, Mal’Tahn, Napiar |
| 41 | 27 | Doka, Enzocas, Hollin, Kordindr, Mal’Tahn, Napiar |
| 42 | 27 | Doka, Enzocas, Hollin, Kordindr, Napiar |
| 43 | 27 | Doka, Enzocas, Hollin, Kendi, Kordindr, Napiar, Zin-45 |
| 44–45 | 27 | Enzocas, Hollin, Kendi, Kordindr, Napiar, Zin-45 |
| 46 | 27 | Hollin, Kendi, Zin-45 |
Best systems to farm the Doomsday Worm
Because the same systems hold the Worm at up to seven different levels, you can park in one and farm without moving. These are the systems with the widest level spread. Pick the one whose band matches what your ship can clear.
| System | Worm levels found there | Warp |
|---|---|---|
| Yifarux | 32–38 | 24–27 |
| Zendauni | 32–38 | 24–27 |
| Nya Tuum | 33–39 | 24–27 |
| Mal’Tahn | 35–41 | 24–27 |
| Doka | 37–43 | 27 |
| Enzocas | 39–45 | 27 |
| Kordindr | 39–45 | 27 |
| Napiar | 39–45 | 27 |
A simple plan by warp: with warp 24, farm Yifarux, Zendauni, Nya Tuum or Mal’Tahn, which cover levels 32 to 36 between them without any extra range. Once you reach warp 27, move to Doka for the high 30s and low 40s, then to Enzocas, Kordindr or Napiar for levels 39 to 45. Hollin, Kendi and Zin-45 are the only systems that hold the level 46 Worm.
How to beat the Doomsday Worm
The Worm appears as all three combat hull types, so no single ship counters every version. Interceptors beat Battleships, Battleships beat Explorers, and Explorers beat Interceptors, and Survey ships barely fight. Bring an Interceptor against the Battleship variant, a Battleship against the Explorer variant, and an Explorer against the Interceptor variant. Tap the target before you engage to read its hull, since the same system can hold different variants.
It has no ship ability, so once you bring the right hull the fight stays predictable: mitigate, out-damage its hull, and repair between runs. Sending the wrong class is the main way to lose, because the hull penalty can flip a kill that looks easy on paper.
For crew, put a captain that boosts weapon damage against hostiles in the chair and fill the other seats with officers that add damage or mitigation. At these levels a cadet crew still holds up: Cadet Kirk as captain with Cadet Spock and Cadet Uhura is a cheap, reliable setup through the late twenties and thirties. For current picks, check the Officer Tier List; crews shift with the meta.
Rewards and what it drops
Every kill pays three core resources, with amounts that rise with level. Parsteel and Tritanium feed base upgrades and ship builds through the mid-game, and Dilithium adds up over a long session. Ship XP climbs from 590 at level 27 to 868 at level 39 and 1,196 at level 46, so the higher spawns level your ship faster.
| Drop | Amount per kill | Levels | What it is |
|---|---|---|---|
| Parsteel | 280–3,513 | 27–46 | Basic resource for buildings and ships |
| Tritanium | 74–772 | 27–46 | Basic resource for buildings and ship components |
| Dilithium | 22–215 | 27–46 | Rarer resource for upgrades, research and speedups |
Doomsday Worm stats
Stats vary by hull variant and climb steeply with level. The rows below use the Explorer variant at the low, mid and high ends of its range; total strength grows about 90-fold from level 27 to level 46.
| Level | Total strength | Hull HP | Shield HP | Attack | Defense | Ship XP |
|---|---|---|---|---|---|---|
| 27 | 133,465 | 29,700 | 31,350 | 50,440 | 52,500 | 590 |
| 39 | 4,339,888 | 1,974,818 | 2,513,406 | 1,412,386 | 683,390 | 868 |
| 46 | 12,250,268 | 5,308,581 | 6,756,380 | 4,394,213 | 1,823,575 | 1,196 |
Doomsday Worm firing pattern
The Worm carries two weapon groups. Its pair of Energy weapons fire every round for steady pressure, while its single Kinetic weapon hits more than twice as hard per shot but only fires every other round. Time repairs or mitigation around the Kinetic volley. These figures come from the lowest-level spawn and scale up with level.
| Weapon type | Count | Damage per shot | Fires | Crit |
|---|---|---|---|---|
| Energy | 2 | 7,200–8,800 | Every round | 10% (1.5x) |
| Kinetic | 1 | 17,280–21,120 | Every other round | 10% (1.5x) |
Is the Doomsday Worm worth grinding?
It is a solid mid-game resource farm. It pays Parsteel, Tritanium and Dilithium across a wide level band, the higher spawns give decent ship XP, and with no special ability or weakness to plan around it is a low-stress target. Park in one of the multi-level systems above, bring the hull that counters the variant on the map, and repeat. The hostile guide lists other neutral targets in this range.