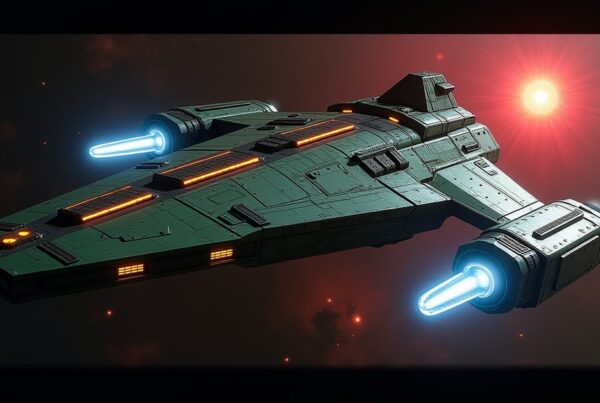
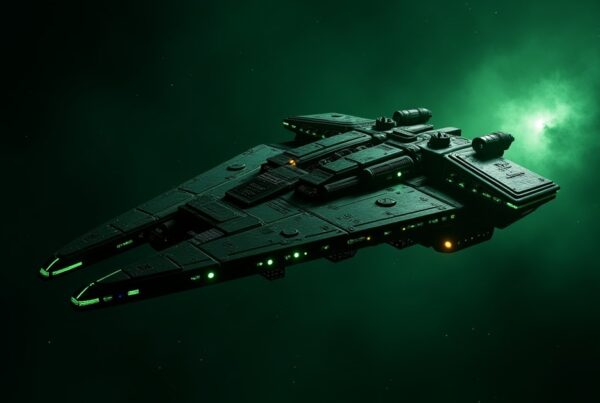
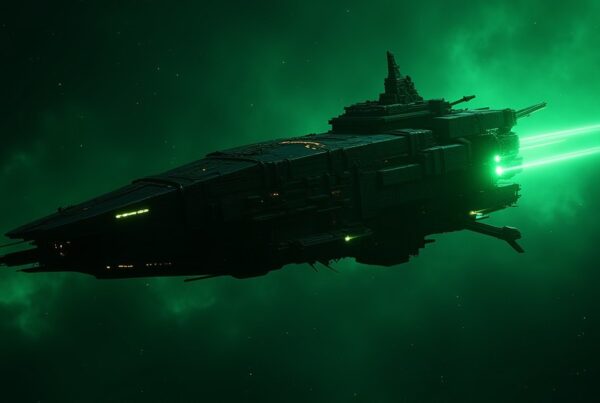
Swarm armadas are group PvE targets that sit in Swarm space and hit far harder than the roaming Swarm ships around them. A level 40 swarm armada carries roughly 255 million power. The level 44 doubles that, and the level 48 passes a billion.
You need the Franklin-A before you can command one, and you start each attack with Rare Armada Directives. Everything below is the current location and level data, plus where the plain Swarm hostiles sit if you are hunting those instead.
Swarm armada locations
Three swarm armada tiers spawn in fixed systems. These are the ones worth planning a run around.
| Armada level | Power | Systems |
|---|---|---|
| 40 | 254,905,719 | Kiju, Miset, Araxian, Estar, Uyik, Siieqa, Vahok, Nobeau, Huik, Iusum |
| 44 | 510,082,816 | Vugef, Begekou, Hobu, Hedex |
| 48 | 1,040,286,914 | Raxo, Widis, Beilum |
Warp requirements for those systems run from 75 up to 100 for the level 40 and 44 bands. The level 48 systems sit deeper in and are reached through the Swarm space route rather than a direct warp figure.
Higher swarm armada tiers exist in the game data beyond these, climbing through roughly 1.35 billion, 2.09 billion and 2.92 billion power at levels 48, 50 and 52. Those are not pinned to a fixed system list the way the three above are, so treat them as content you will meet through events and the Swarm arc rather than something you can go and park next to.
Level 52 is the ceiling. If you are searching for level 55 or level 60 swarm content, it does not exist yet.
Where to find Swarm hostiles by level
Most people searching for swarm locations want the ordinary Swarm ships rather than the armadas, usually to grind Swarm Advanced Biotics or work through the arc. Those run from level 15 all the way to 50, and they are spread across a lot more systems than the armadas are.
| Level | Systems | Warp |
|---|---|---|
| 15 | Andvaris, Kohva | 13 |
| 16 | Omtose, Caldik | 13 |
| 17 | Altamid | 13 |
| 18 | Herias | 13 |
| 19 | Ezani | 15 |
| 20 | Beta Vordunn, Idran | 15 / 25 |
| 22 | Klaiz | 15 |
| 24 | Er’Yozun, Lahrel | 22 |
| 26 | Alpha Horunia, Sayo | 22 |
| 28 | Redmond, Ortek | 22 |
| 30 | Fontaine, Von | 23 |
| 32 | Adelphi, Fyrsta | 23 |
| 35 | Dalogn, Vesali | 27 |
| 37 | Araxian, Iusum, Estar | 75 |
| 39 | Kiju, Uyik, Vahok | 80 |
| 41 | Siieqa, Huik | 85 |
| 43 | Miset, Nobeau | 90 |
| 44 | Begekou | 100 |
| 45 | Vugef | 100 |
| 46 | Hobu | 100 |
| 47 | Hedex | Swarm space |
| 48 | Widis | Swarm space |
| 49 | Raxo | Swarm space |
| 50 | Beilum | Swarm space |
The jump between level 35 and level 37 is the one to notice. Everything up to Dalogn and Vesali sits at warp 27 or below, and then the level 37 systems need warp 75. That gap is where most players stall, and it is a warp problem rather than a combat problem.
From level 44 upward the systems each hold a single Swarm level, so Begekou, Vugef, Hobu, Hedex, Widis, Raxo and Beilum are effectively a ladder you climb one system at a time.
Level 40 swarm locations
Level 40 comes up more than any other single level, because it is where the first real swarm armada sits. The level 40 armada spawns across ten systems: Kiju, Miset, Araxian, Estar, Uyik, Siieqa, Vahok, Nobeau, Huik and Iusum, at warps between 75 and 90.
If you want plain level 39 and level 41 Swarm ships in the same neighbourhood, Kiju, Uyik and Vahok carry the 39s and Siieqa and Huik carry the 41s, so a single trip covers both.
Crew for swarm armadas
The long-standing crew for swarm armadas is William T. Riker as captain with Six of Eleven and Khan alongside him, and below decks weighted toward attack.
Riker captains because swarm armadas throw a lot of small hits rather than a few large ones, which suits a crew built around sustained damage rather than burst. Six of Eleven covers the Swarm-specific side. Khan adds the raw attack that turns a long fight into a shorter one.
If you are short an officer, prioritise the captain slot first and fill below decks with whatever pushes attack. Swarm armadas are a damage race more than a survival test.
Armada Directives and where they come from
Swarm armadas launch with Rare Armada Directives, the same standard directives that start other PvE armadas rather than a swarm-specific item. The existing cost is 100 Rare Armada Directives per launch.
There are four reliable sources for standard directives:
- The Alliance Store, where you buy chests with the Armada Credits you earn from defeating armadas.
- Daily Goals, which award Uncommon directives for completing milestones.
- The Leader Chest, which can drop higher-tier directives when you start and defeat an armada yourself.
- The Armada Control Center, where upgrading the building increases how many directives you generate.
Of those, the Armada Control Center is the one players under-use. It raises directive output permanently rather than one chest at a time, which matters if you intend to run swarm armadas regularly.
What swarm armadas drop
Swarm armadas pay out Swarm Advanced Biotics, the material the Swarm arc runs on. The level 40 armada carries a cargo band up to 40 units and the level 44 up to 60, so the higher tier is worth the extra difficulty if your crew can hold it.
Every player who joins a successful armada attack shares in the rewards, which is why coordinating a full group matters more than any individual ship in it.
What you are fighting
Swarm armada targets are kinetic-heavy. The level 40 armada runs five weapons: three kinetic and two energy, with the third weapon a slow, heavy hitter on a 15 second warmup and cooldown that does around ten times the damage of the others per shot.
It carries no shield health at all and 500 million hull, so shield-piercing does nothing for you here and armor-piercing does everything. Crit chance sits at 10% with 150% crit damage across all its weapons.
The practical read: build for armor piercing and sustained damage, ignore shield piercing, and expect the fight to be decided by how much damage your group puts out between those heavy third-weapon shots.
Where to go next
For armadas outside Swarm space, the armada locations page covers targets by faction and level, and solo armadas covers the ones you can run without a group. Formation armadas are the multi-target variety.
If you are grinding Swarm hostiles for faction standing rather than materials, the faction reputation page explains how kills move your standing and where the locks sit.