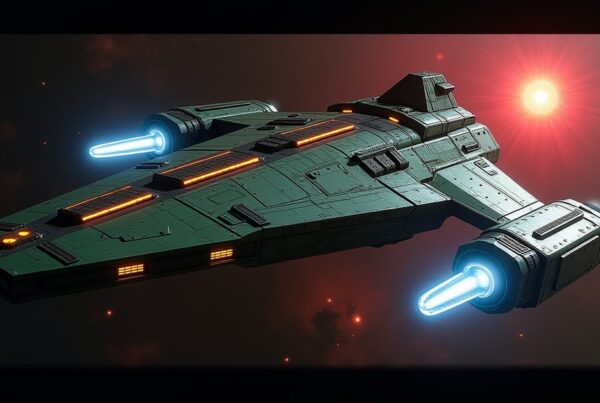
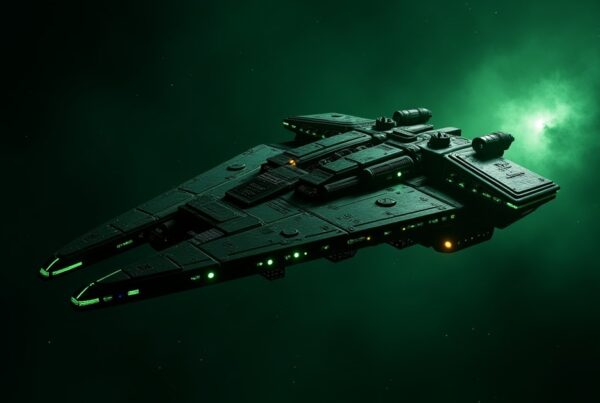
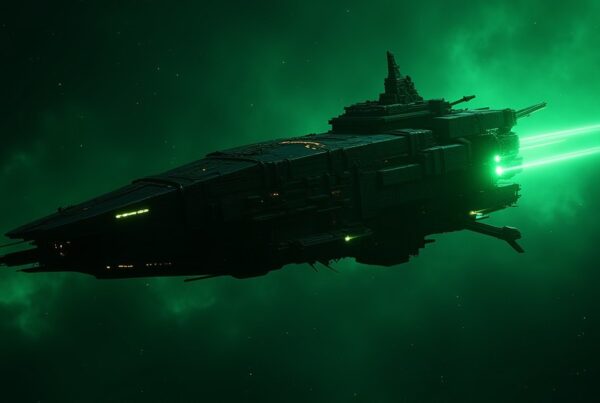
Freebooter hostiles in Star Trek Fleet Command spawn in eight systems from level 38 to 60: Benijat at warp 24, then Ch’urux Qorva, Jeghar and Zhessir at warp 49, then Chakavil, Xabul Bal, Toxotubelle and Axo’Tae at warp 160. Every level spawns as an Interceptor, a Battleship and an Explorer, so you always pick the version your ship counters. The level 38 ships drop Tritanium, and from level 40 up each hull drops Broken parts for its own ship class: 4★ parts to level 48 and 5★ parts from level 50.
Freebooter locations and systems by level
Each system holds one to three Freebooter levels, and the system level in brackets tells you where a band starts. Warp is what gates this ladder more than combat: the jump from warp 24 to 49 at level 40, and from 49 to 160 at level 53, is where most players pause. Strength is listed for each hull at every level.
| Level | System | Warp | Interceptor | Battleship | Explorer |
|---|---|---|---|---|---|
| 38 | Benijat (38) | 24 | 6,537,185 | 6,564,398 | 6,621,614 |
| 40 | Ch’urux Qorva (40) | 49 | 14,716,255 | 14,601,417 | 14,904,950 |
| 43 | Ch’urux Qorva (40) | 49 | 23,907,651 | 23,707,225 | 24,031,303 |
| 45 | Jeghar (45) | 49 | 35,521,065 | 35,312,706 | 35,715,664 |
| 48 | Jeghar (45) | 49 | 46,195,156 | 45,991,662 | 46,550,062 |
| 50 | Zhessir (50) | 49 | 72,856,273 | 72,674,644 | 73,368,427 |
| 51 | Zhessir (50) | 49 | 80,754,656 | 80,844,278 | 81,563,459 |
| 52 | Zhessir (50) | 49 | 98,916,789 | 98,564,587 | 99,367,298 |
| 53 | Chakavil (53) | 160 | 300,235,850 | 299,889,136 | 300,785,034 |
| 54 | Chakavil (53) | 160 | 335,967,998 | 335,632,940 | 336,632,787 |
| 55 | Xabul Bal (55) | 160 | 385,911,138 | 385,595,357 | 386,711,143 |
| 56 | Xabul Bal (55) | 160 | 455,680,646 | 455,401,027 | 456,652,076 |
| 57 | Xabul Bal (55) | 160 | 509,631,414 | 509,392,379 | 510,788,297 |
| 58 | Toxotubelle (58) | 160 | 569,975,912 | 569,791,073 | 571,348,538 |
| 59 | Toxotubelle (58) | 160 | 637,472,812 | 637,358,475 | 639,096,060 |
| 60 | Axo’Tae (60) | 160 | 714,553,313 | 714,528,928 | 716,467,345 |
For crew builds, daily goals and farming routes beyond locations, see the Freebooter comprehensive guide.
How to beat Freebooters
Because every level spawns in all three combat hulls, the counter triangle works in your favor. Interceptors beat Battleships, Battleships beat Explorers, and Explorers beat Interceptors, so match the Freebooter to your strongest warship: an Explorer hunts the Freebooter Interceptor, an Interceptor hunts the Freebooter Battleship, and a Battleship hunts the Freebooter Explorer. The three hulls share the same hull and shield health at each level, and only attack and defense shift a little between them, so the choice comes down to which parts you want and which ship you have built.
All Freebooters carry a ship ability called Ravager’s Lance, which boosts every one of their piercing stats. From level 38 to 51 the bonus is +1500%, and from level 52 to 60 it drops to +500%. High piercing chews through your armor, shield deflection and dodge, so mitigation does less than usual here. Favor a ship with a deep hull pool and enough damage to end the fight quickly.
For crew, a captain that raises weapon damage against hostiles plus officers that add damage or survivability is the right shape. The officer tier list keeps current picks by role, and crew recommendations shift with the meta.
Freebooter firing pattern
Freebooters fire six weapons at level 38: three Kinetic and three Energy, all every round. The Kinetic guns carry a 10% crit chance at 1.5x, while the Energy guns never crit. By level 60 the loadout changes to four Kinetic weapons and two Energy weapons that fire three shots each, so the damage per round rises far faster than the level number suggests.
| Weapon | 1 | 2 | 3 | 4 | 5 | 6 | 7 | 8 | 9 | 10 | 11 | 12 | 13 | 14 | 15 |
|---|---|---|---|---|---|---|---|---|---|---|---|---|---|---|---|
| WEAPON 1 Kinetic | 1 | 1 | 1 | 1 | 1 | 1 | 1 | 1 | 1 | 1 | 1 | 1 | 1 | 1 | 1 |
| WEAPON 2 Kinetic | 1 | 1 | 1 | 1 | 1 | 1 | 1 | 1 | 1 | 1 | 1 | 1 | 1 | 1 | 1 |
| WEAPON 3 Energy | 1 | 1 | 1 | 1 | 1 | 1 | 1 | 1 | 1 | 1 | 1 | 1 | 1 | 1 | 1 |
| WEAPON 4 Energy | 1 | 1 | 1 | 1 | 1 | 1 | 1 | 1 | 1 | 1 | 1 | 1 | 1 | 1 | 1 |
| WEAPON 5 Energy | 1 | 1 | 1 | 1 | 1 | 1 | 1 | 1 | 1 | 1 | 1 | 1 | 1 | 1 | 1 |
| WEAPON 6 Kinetic | 1 | 1 | 1 | 1 | 1 | 1 | 1 | 1 | 1 | 1 | 1 | 1 | 1 | 1 | 1 |
| Level | Weapon type | Count | Damage per shot | Fires | Crit |
|---|---|---|---|---|---|
| 38 | Kinetic | 3 | 70,895 to 86,650 | Every round | 10% (1.5x) |
| 38 | Energy | 3 | 56,397 to 68,930 | Every round | 0% |
| 60 | Kinetic | 4 | 970,742 to 1,186,468 | Every round | 10% (1.5x) |
| 60 | Energy | 2 | 849,548 to 1,038,348 (3 shots) | Every round | 0% |
Freebooter cargo and drops
What you get depends on the level and the hull you beat. The Freebooter Interceptor drops Interceptor parts, the Battleship drops Battleship parts, and the Explorer drops Explorer parts, in the same amounts. That makes Freebooters one of the cleanest ways to aim 4★ and 5★ Broken parts at a specific ship.
| Level | Drop | Amount per kill |
|---|---|---|
| 38 | Tritanium | 412 to 558 |
| 40 | 4★ Broken parts for the hull you beat | 108 to 133 |
| 43 | 4★ Broken parts for the hull you beat | 228 to 280 |
| 45 | 4★ Broken parts for the hull you beat | 376 to 461 |
| 48 | 4★ Broken parts for the hull you beat | 636 to 778 |
| 50 | 5★ Broken parts for the hull you beat | 122 to 150 |
| 51 | 5★ Broken parts for the hull you beat | 135 to 166 |
| 52 | 5★ Broken parts for the hull you beat | 169 to 208 |
| 53 | 5★ Broken parts for the hull you beat | 237 to 291 |
| 54 | 5★ Broken parts for the hull you beat | 284 to 348 |
| 55 | 5★ Broken parts for the hull you beat | 400 to 490 |
| 56 | 5★ Broken parts for the hull you beat | 500 to 612 |
| 57 | 5★ Broken parts for the hull you beat | 688 to 842 |
| 58 | 5★ Broken parts for the hull you beat | 900 to 1,101 |
| 59 | 5★ Broken parts for the hull you beat | 1,238 to 1,514 |
| 60 | 5★ Broken parts for the hull you beat | 1,575 to 1,926 |
Freebooter stats
Stats climb steeply with level. Hull and shield health are identical across the three hulls at each level. Attack is listed as Battleship / Explorer / Interceptor.
| Level | Hull HP | Shield HP | Attack (B / E / I) | Ship XP |
|---|---|---|---|---|
| 38 | 9,607,680 | 1,200,960 | 699,193 / 718,264 / 700,585 | 825 |
| 45 | 60,508,277 | 4,541,811 | 1,764,712 / 1,858,850 / 1,696,256 | 2,125 |
| 50 | 126,960,688 | 7,935,043 | 3,357,684 / 3,506,086 / 3,178,023 | 2,786 |
| 53 | 574,918,664 | 11,090,252 | 4,200,352 / 4,328,950 / 4,002,802 | 3,214 |
| 57 | 974,810,250 | 17,329,960 | 8,962,794 / 9,142,267 / 8,563,514 | 3,833 |
| 60 | 1,362,423,769 | 24,220,867 | 14,943,075 / 15,169,952 / 14,286,620 | 4,333 |
Hull health jumps more than threefold between level 52 and 53, which lines up with the warp 160 step. If your ship handles Zhessir comfortably, Chakavil is a much bigger fight.
Are Freebooters worth farming?
If you need Broken parts for a specific hull between levels 40 and 60, yes. You pick the parts by picking the hull, the systems are fixed, and each band stays in one or two systems, so a farming run is short. The catch is Ravager’s Lance, which punishes a ship that relies on mitigation. Bring the counter hull with plenty of damage and it becomes a steady grind. For other targets at the same levels, the hostile guide lists every faction hub, and the Klingon hostiles page covers the KSG ships that also drop 5★ parts by hull.